Heavy snow can turn a well-designed solar array into a demanding winter maintenance project. Accumulated snow adds weight to modules, rails, clamps, and roof attachments. It may also hide cracked panels, loose fasteners, blocked drains, or early corrosion. Knowing how to maintain solar mounting racks in heavy snow areas helps protect energy production and the entire mounting system.
This guide focuses on practical maintenance for the 2026 winter season. It combines manufacturer guidance, structural safety principles, and lessons from real site inspections. Before snowfall, check rack alignment, fastener torque, flashing, seals, and drainage paths. Look closely at low points where ice may collect. Small details matter. After a heavy storm, inspect from the ground before climbing onto a slippery roof. Do not walk on modules or remove snow with metal tools. A soft roof-safe brush may help, but only when conditions are safe and the equipment allows it. Some systems require professional snow removal or an engineer’s review.
Snow rarely causes damage alone. Uneven loading, repeated freezing, wind drifting, and neglected corrosion often make problems worse. I have seen minor bracket movement become a larger alignment issue after several storms. That experience is a reminder: routine checks are valuable, yet no checklist replaces site-specific judgment. Record photos, snow depth, visible movement, and repairs. When the rack bends, a panel cracks, or fasteners loosen repeatedly, stop and seek qualified support. Safety must remain more important than immediate power production.
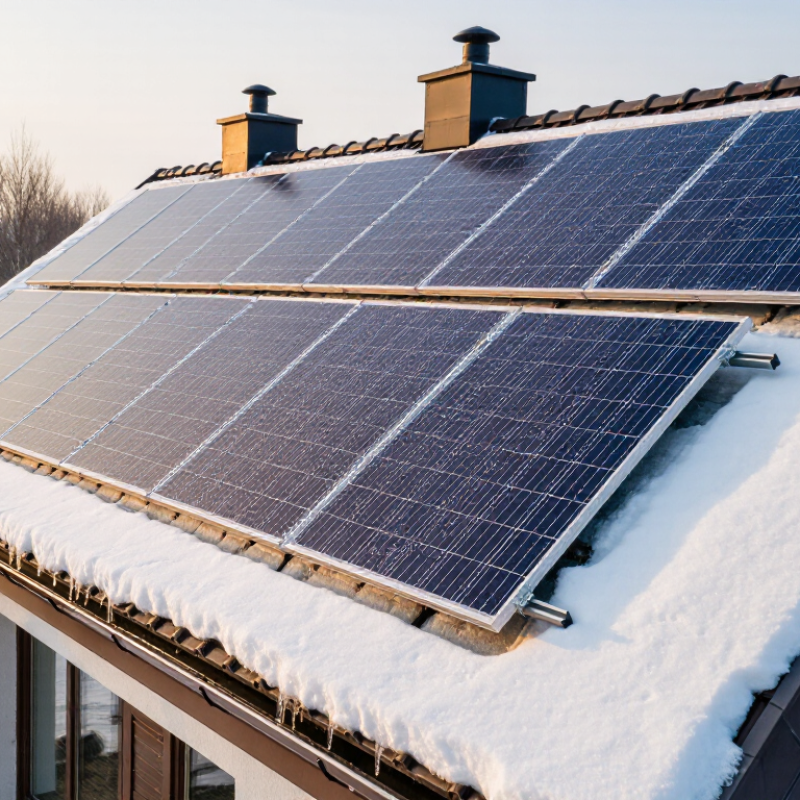
How to Maintain Solar Mounting Racks in Heavy Snow 2026
Assess Snow Loads and Identify Risks on Solar Mounting Racks
Heavy snow can stress solar mounting racks long before visible failure occurs. Begin with the site’s design snow load, roof shape, panel angle, and local weather records. Fresh snow is light. Wet, compacted snow can weigh several times more. Wind may also create deep drifts near roof edges, valleys, and higher structures.
Inspect the full load path, not only the panels. Look for bowed rails, twisted brackets, cracked roof attachments, loose fasteners, and unusual gaps beneath panels. Check for rust around joints and water damage near penetrations. Snow sliding from one panel can strike lower equipment. That impact risk deserves attention. A quick visual check helps, but it does not prove structural safety. Ask a qualified structural professional to verify calculations when snow depth approaches the design limit or damage appears.
Tips: Measure snow depth at several points, including drifted areas. Record wet snow conditions, not just depth. Keep drains and access routes clear. Never stand beneath unstable snow or climb onto icy panels. Use approved equipment and follow local safety rules. One detail is often missed: partial snow removal can create uneven loading. Remove snow evenly, with tools that cannot damage panel frames or rack surfaces. Field notes, photos, and weather timing improve later decisions. They also reveal where the inspection process was weak.
Wet, compacted snow may weigh several times more than fresh snow. Wind can also form deep drifts near roof edges and valleys. Start low. Check the design snow load, roof shape, panel angle, and local weather records.
Look for bowed rails, twisted brackets, loose fasteners, cracked attachments, and unusual gaps. Rust near joints may reveal moisture damage. A tilted panel can indicate movement below the surface.
Snow often gathers unevenly beside roof edges, valleys, and taller structures. Measure both normal and drifted areas. Record whether the snow is wet or compacted. Depth alone can mislead.
No. It can reveal warning signs, but it cannot prove safe load capacity. Request qualified structural review when snow approaches design limits or damage appears. My earlier quick checks missed a small rail shift.
Inspect from the ground first with binoculars or optical zoom. If access is necessary, use a secured ladder, fall protection, and inspected roof anchors. Wear traction boots, a helmet, gloves, and visible clothing. Do not rush.
Use a nonconductive roof rake with a soft head from a safe position. Never use metal tools or strike frozen layers. Avoid walking on modules, because hidden ice can cause falls and glass damage.
Check accessible fasteners for looseness, corrosion, cracked washers, and displaced hardware. Use approved torque requirements and a calibrated torque wrench. Random tightening can deform rails or damage frames.
Clear blocked channels, roof outlets, and pathways around support bases. Watch for refreezing near penetrations and trapped water. Slow drainage, cracked sealant, or distorted supports requires professional assessment. Temporary guesses can create permanent damage.
Maintaining solar mounting racks in severe winter conditions requires a careful, safety-first approach. How to maintain solar mounting racks in heavy snow areas begins with assessing snow depth, weight, wind exposure, roof conditions, and visible signs of bending or movement. Before any work, establish safe access routes and prepare suitable tools, protective equipment, and fall-prevention measures. Snow should be removed gradually and evenly with non-abrasive tools, avoiding direct pressure on panels, cables, rails, clamps, and support points. Workers should never create uneven loading or stand on fragile module surfaces.
After snowfall, inspect the entire system for shifted mounts, loose fasteners, damaged supports, blocked drainage paths, cracked panels, and moisture-related issues. Any unusual deformation or electrical concern should be isolated and evaluated by a qualified professional. Finally, record findings, tighten or replace approved components when necessary, clear drainage areas, and schedule inspections before the next winter season. Preventive checks, weather monitoring, and a documented maintenance plan can reduce structural stress and help preserve reliable solar system performance.

 Illumino Solar